Red Velvet Cheesecake Brownies is a delicious recipe that combines amazing flavors and textures.
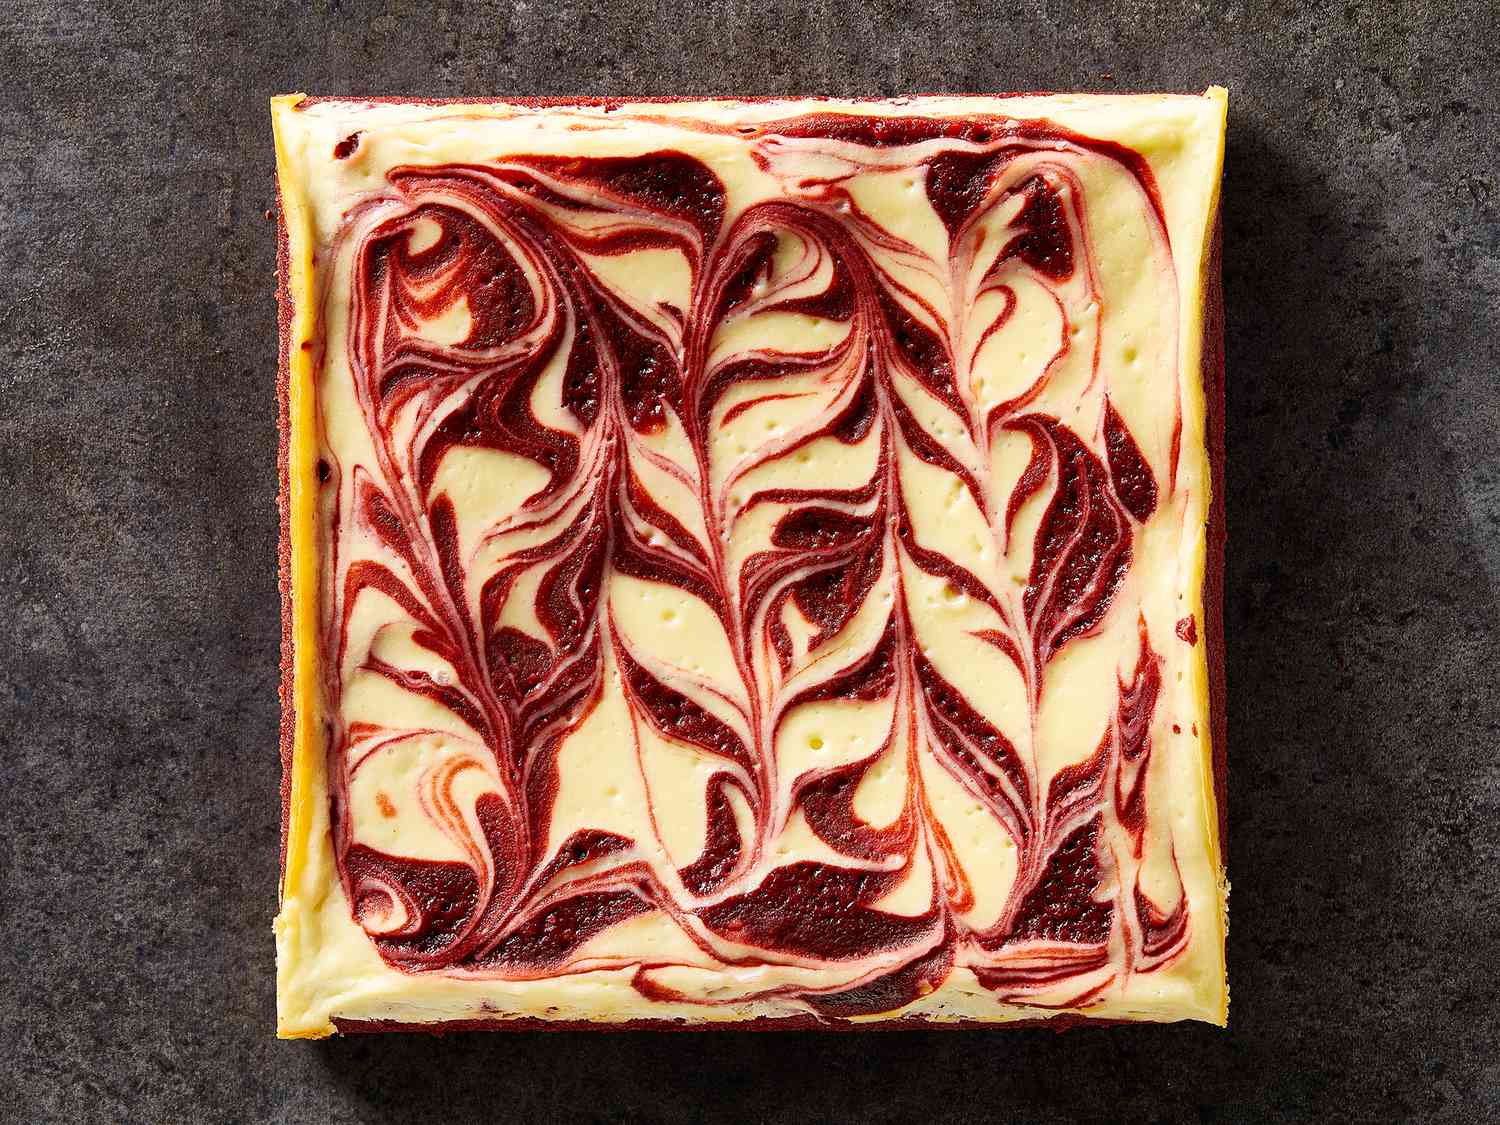
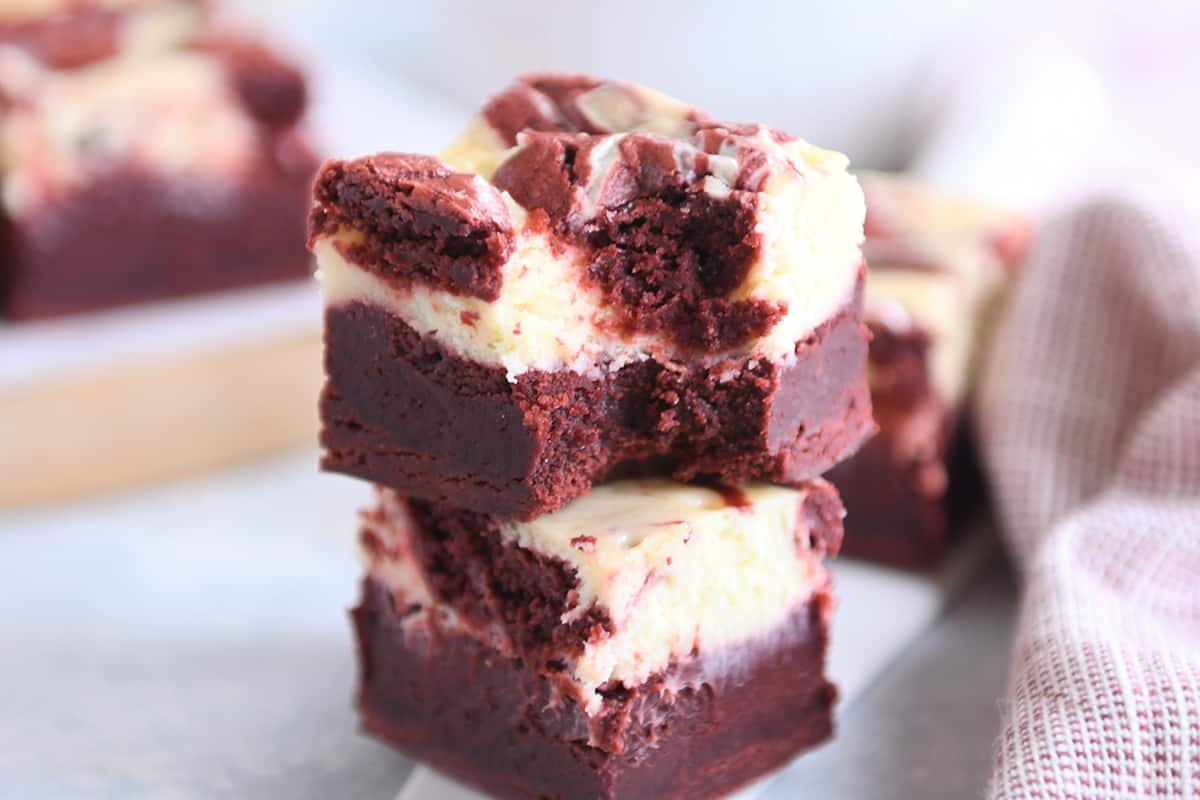
These decadent Red Velvet Cheesecake Brownies represent the perfect marriage between two beloved desserts. The rich, chocolatey depth of red velvet brownies combines with the creamy tang of cheesecake to create a treat that’s visually stunning and incredibly satisfying. The vibrant red color against the white cheesecake swirl makes these brownies as beautiful as they are delicious.
The secret to these brownies’ perfect texture lies in the careful balance of ingredients. The cocoa powder provides just enough chocolate flavor without overwhelming the delicate tang of the cheesecake layer. The vinegar in the brownie batter not only helps with the red color development but also reacts with the baking soda to create a tender crumb. Using high-quality cream cheese is essential for the cheesecake layer – it should be properly softened to avoid lumps while maintaining enough structure to create defined swirls.
The Science of Red Velvet
True red velvet isn’t just chocolate cake with red food coloring. The traditional reaction between acidic ingredients (buttermilk, vinegar) and alkaline cocoa powder creates a unique flavor profile and tender texture. While modern recipes often rely on food coloring for the signature red hue, understanding this chemical reaction helps you appreciate why these ingredients work together so harmoniously.
Natural cocoa powder is acidic, which is why it pairs so well with baking soda. When combined, they create carbon dioxide bubbles that help the batter rise. The vinegar in this recipe enhances this reaction while also stabilizing the red color. For the most vibrant color, use gel food coloring rather than liquid, as it’s more concentrated and won’t throw off the liquid balance in your batter.
Ingredient Quality Matters
Cocoa Powder: Use natural cocoa powder (not Dutch-processed) for the right acidity level. This ensures proper chemical reaction with the baking soda and helps achieve that classic red velvet flavor.
Cream Cheese: Always use full-fat block cream cheese, not the spreadable variety. The blocks contain less water and fewer stabilizers, resulting in a richer, creamier cheesecake layer that holds its shape when swirled.
Butter: Unsalted butter allows you to control the salt content. For the best flavor, consider browning the butter first – this adds a nutty complexity that complements both the chocolate and cream cheese components.
Eggs: Large eggs at room temperature incorporate more evenly into both batters. Cold eggs can cause the cheesecake layer to be lumpy and may result in uneven baking.
Technique Tips for Perfect Swirls
Creating those beautiful swirls requires a gentle touch and proper consistency in both batters. The brownie batter should be pourable but not too thin, while the cheesecake layer should be thick enough to hold its shape but soft enough to swirl easily.

When adding the cheesecake layer, drop spoonfuls evenly across the surface rather than dumping it all in one spot. Use a knife or skewer to create swirls, but don’t overmix – you want defined patterns, not a homogenous blend. Make sure your knife reaches all the way to the bottom of the pan to create swirls throughout the entire depth of the brownies.
Baking Precision
Oven temperature accuracy is crucial for these brownies. Use an oven thermometer to verify your oven’s temperature, as even a 25-degree difference can affect the outcome. The brownies are done when the edges are set but the center still has a slight jiggle – this residual heat will continue to cook them as they cool.
Avoid the temptation to overbake. The toothpick test doesn’t work well for these brownies because the cheesecake layer will always come out moist. Instead, look for the edges pulling away slightly from the pan and a center that’s set but not firm.
Customization Options
While these brownies are spectacular as written, there’s room for creativity. Add white or dark chocolate chips to the brownie batter for extra texture. Incorporate orange or lemon zest into the cheesecake layer for a citrus twist. For a holiday version, add peppermint extract to the cheesecake layer and crush candy canes over the top before baking.
For a more intense chocolate flavor, replace 1/4 cup of flour with additional cocoa powder. If you prefer cakey brownies, add 1/2 teaspoon of baking powder to the dry ingredients. For fudgier brownies, increase the butter to 1 1/4 cups and reduce the flour to 3/4 cup.
Serving and Presentation
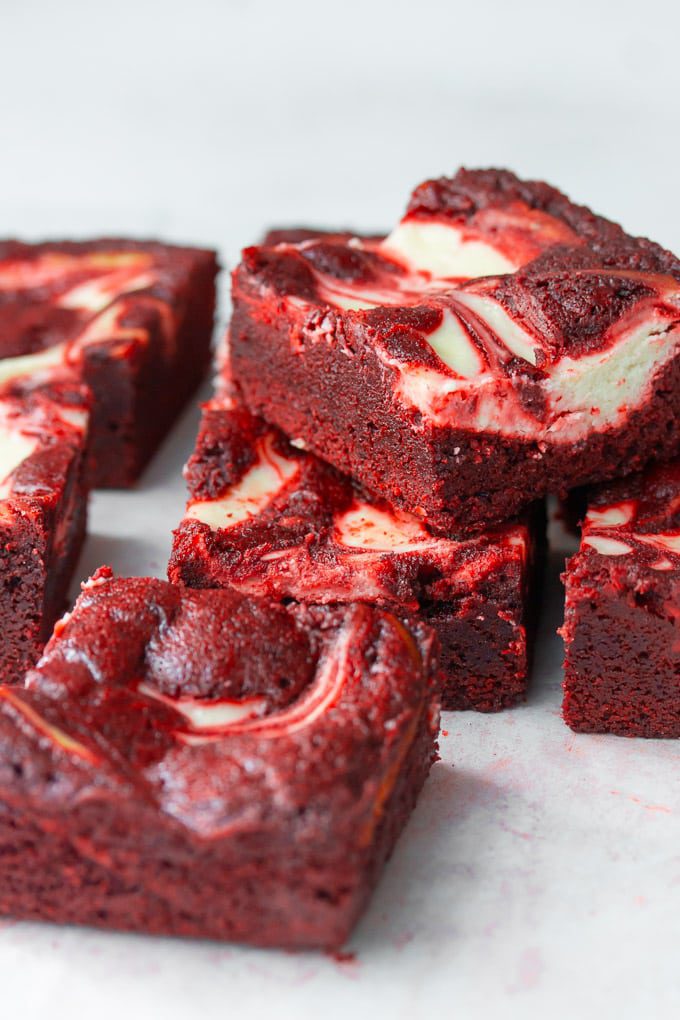
Allow the brownies to cool completely before cutting – this is non-negotiable for clean slices. For the neatest cuts, chill the brownies for 2 hours first, then use a sharp knife dipped in hot water and wiped clean between each cut.
Serve these brownies at room temperature for the best texture and flavor. Dust with powdered sugar or drizzle with a white chocolate ganache for extra elegance. For special occasions, top with fresh raspberries or strawberries, whose acidity provides a lovely contrast to the rich brownies.
Storage and Freshness
Store these brownies in an airtight container in the refrigerator for up to 5 days. They can also be frozen for up to 3 months – wrap individual portions in plastic wrap and then place in a freezer bag. Thaw in the refrigerator overnight before serving.
The flavors actually improve after 24 hours, as the components have time to meld together. If you can resist, make these brownies a day before you plan to serve them for the best possible experience.
Nutritional Considerations
While these are undoubtedly a treat, you can make some adjustments for dietary needs. For gluten-free version, use a 1:1 gluten-free flour blend. Reduce the sugar by 1/4 cup if you prefer less sweetness – the cheesecake layer will still provide plenty of sweetness.
For dairy-free options, use plant-based butter and cream cheese alternatives. Note that the texture may be slightly different, but the flavor will still be delicious. There’s no substitute for eggs in this recipe that will provide the same structure, so these brownies aren’t suitable for egg-free diets.
The Perfect Occasion
These stunning brownies are perfect for Valentine’s Day, Christmas, or any occasion where you want to make a special impression. They’re equally at home at casual potlucks and elegant dinner parties. The dramatic appearance makes them ideal for gift-giving – package them in a beautiful box tied with ribbon for a homemade gift that looks professionally made.
Whether you’re a seasoned baker or trying your hand at something more advanced, these Red Velvet Cheesecake Brownies will impress everyone who tries them. The combination of flavors and textures creates a dessert experience that’s far greater than the sum of its parts.
Red Velvet Cheesecake Brownies
Ingredients
Method
- Preheat oven to 350°F and line a 9×13 inch pan with parchment paper.
- In a large bowl, mix melted butter and sugar until combined.
- Add eggs one at a time, then vanilla, food coloring, and vinegar.
- In a separate bowl, whisk together flour, cocoa powder, and salt.
- Gradually add dry ingredients to wet ingredients and mix until combined.
- In a medium bowl, beat cream cheese until smooth.
- Add sugar and mix until combined.
- Add eggs one at a time, then vanilla, mixing until smooth.
- Spread brownie batter evenly in prepared pan.
- Drop spoonfuls of cheesecake mixture over brownie layer and swirl with a knife.
- Bake for 35-40 minutes until edges are set and center is slightly jiggly.
- Cool completely before cutting into squares.