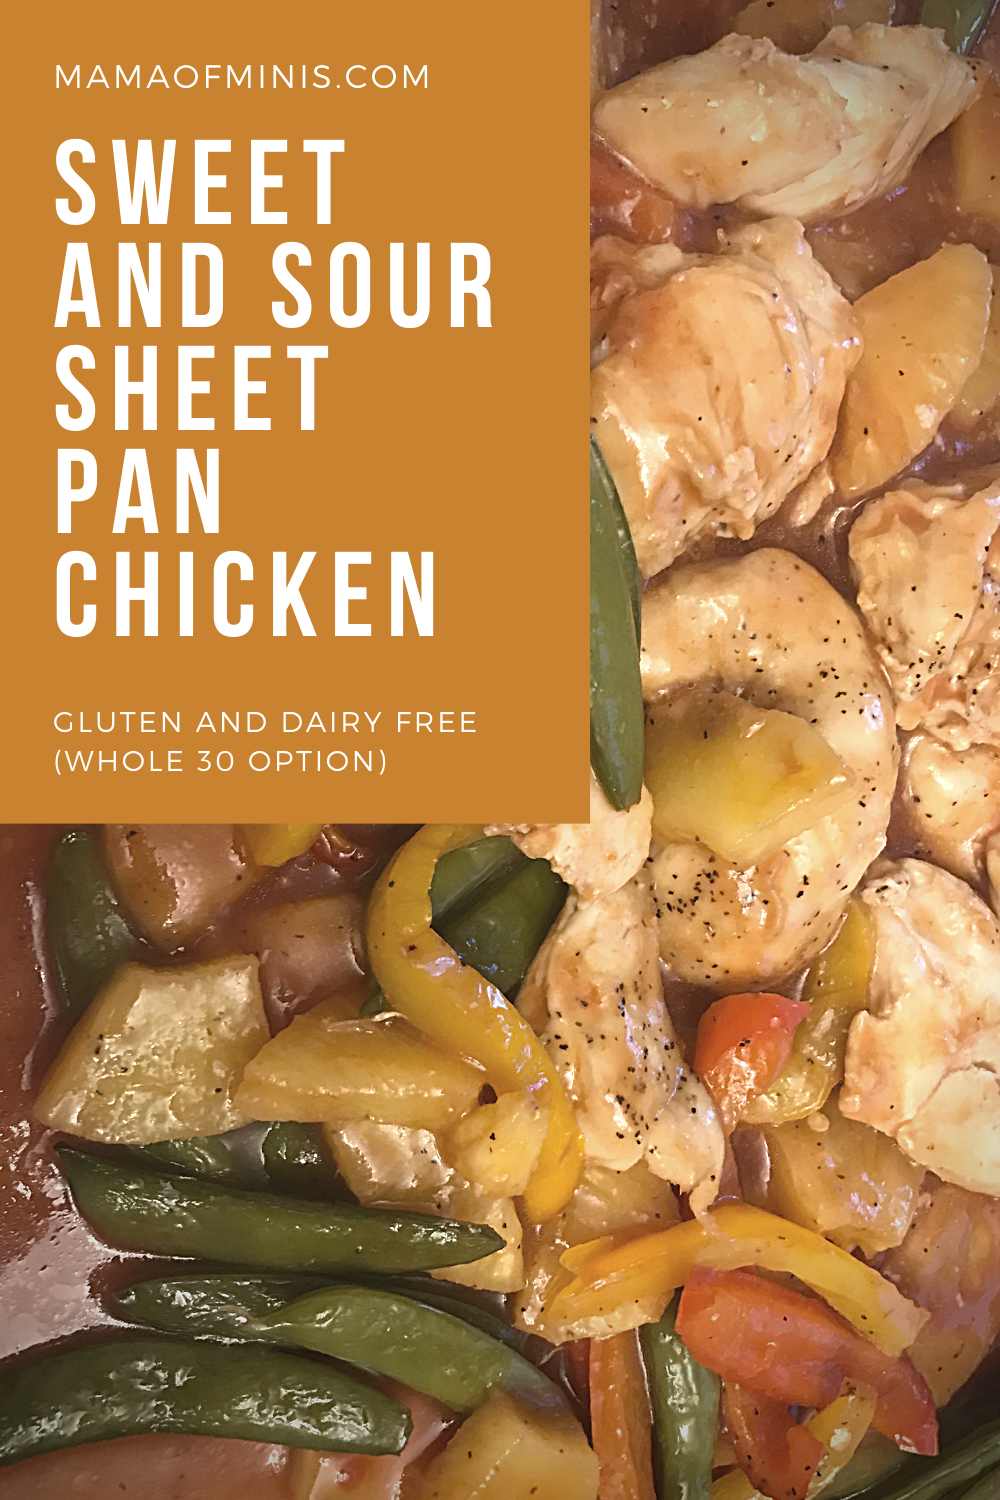
Sheet Pan Sticky Sweet and Sour Chicken: The Ultimate Takeout Fakeout
Sweet and Sour Chicken is a universally loved takeout classic, known for its crispy coating, vibrant vegetables, and that irresistible, tangy-sweet sauce. But what if you could recreate that flavor profile at home, in a healthier way, and with the minimal cleanup of a single sheet pan? This Sheet Pan Sticky Sweet and Sour Chicken is the answer. It’s a brilliant weeknight hack that delivers all the sticky, sweet, and sour flavor you crave, combined with tender chicken and perfectly roasted vegetables, all ready in under 40 minutes.
My inspiration for this recipe came from a desire to enjoy the flavors of my favorite Chinese takeout without the deep-fried guilt. The key was to adapt the traditional sauce into a glaze that could caramelize beautifully in the oven. By creating a quick, homemade sweet and sour sauce and applying it in a two-stage glazing process, we achieve that signature sticky coating without the need for batter or deep frying. The high heat of the oven ensures the chicken and vegetables are perfectly cooked and slightly charred, adding a depth of flavor that is often missing in simpler baked versions. This sheet pan meal is the culmination of that effort—a simple, elegant, and deeply satisfying meal that is perfect for a quick dinner or a healthy meal prep option.
What sets this recipe apart is the incredible balance of flavors and the ease of preparation. The homemade sweet and sour sauce is the star, perfectly balancing the acidity of the rice vinegar and the sweetness of the brown sugar, with a savory depth from the soy sauce and a hint of freshness from the ginger and garlic. The combination of tender chicken, vibrant bell peppers, and sweet pineapple creates a textural and flavor contrast that is incredibly satisfying. It’s a complete, balanced meal that is easy to customize and guaranteed to be a family favorite, especially for those who love Asian-inspired flavors.
Why This Recipe Works: The Science of Sauce Reduction and Caramelization
The success of the Sheet Pan Sticky Sweet and Sour Chicken is rooted in the science of sauce reduction and high-heat caramelization. The process is designed to create a thick, sticky glaze that coats the chicken and vegetables perfectly.
The key to the sauce is the use of cornstarch. When the sauce is brought to a simmer on the stovetop, the cornstarch acts as a thickening agent, creating a slightly viscous sauce that is ready to be applied as a glaze. The high heat of the oven then promotes the caramelization of the sugars in the sauce, creating that signature sticky, glossy coating. The two-stage glazing process is crucial for preventing the sauce from burning. By only applying half of the sauce halfway through the cooking process, we allow the chicken to cook through before the sugars have a chance to scorch. The final toss with the remaining sauce ensures a fresh, vibrant flavor and a perfect, sticky coating.
Key Ingredients for Success
This recipe relies on simple, fresh ingredients, but a few key components are essential for achieving the authentic sweet and sour flavor profile:
-
Boneless, Skinless Chicken Breasts: Cut the chicken into uniform 1-inch cubes. Uniformity is essential for even cooking, ensuring the chicken is tender and juicy when the vegetables are done. You can substitute with boneless, skinless chicken thighs for a richer flavor.
-
Bell Peppers and Pineapple: The combination of red and green bell peppers and fresh pineapple chunks provides the necessary color, texture, and flavor contrast. The acidity of the pineapple helps to tenderize the chicken and its sweetness is essential for the sauce.
-
Sweet and Sour Sauce Ingredients: The combination of pineapple juice, rice vinegar, brown sugar, and soy sauce is the classic sweet and sour base. The addition of ketchup provides a necessary tomato tang and color, while the ginger and garlic add a fresh, aromatic depth.
-
Cornstarch: This is the essential thickening agent for the sauce. It ensures the sauce is thick and sticky, not watery, and that it coats the chicken and vegetables perfectly.
Pro Tips for the Perfect Sheet Pan Chicken
To ensure your sheet pan meal is perfectly cooked—tender chicken, caramelized vegetables, and a sticky glaze—keep these expert tips in mind:
First and foremost, don’t overcrowd the pan. This is the most common mistake in sheet pan cooking. If the chicken and vegetables are piled too high, they will steam instead of roast, resulting in a pale, soggy dish. Use a large enough baking sheet to ensure the ingredients are spread in a single, even layer. If necessary, use two smaller sheet pans.
Secondly, line the pan with parchment paper. This is the secret to minimal cleanup. The parchment paper prevents the caramelized sugars and seasonings from sticking to the pan, allowing you to simply toss the paper away after the meal. This is a small step that saves significant scrubbing time.
Thirdly, cook the sauce on the stovetop first. This ensures the cornstarch is fully activated and the sauce is thick and glossy before it is applied to the chicken. This prevents the sauce from being watery and ensures a perfect, sticky glaze.
Finally, check the chicken’s internal temperature. The chicken is done when its internal temperature reaches 165°F (74°C). Relying solely on visual cues can lead to dry chicken. Use a quick-read thermometer to ensure your chicken is perfectly cooked—tender, juicy, and safe to eat.
Step-by-Step: Bringing It to Life
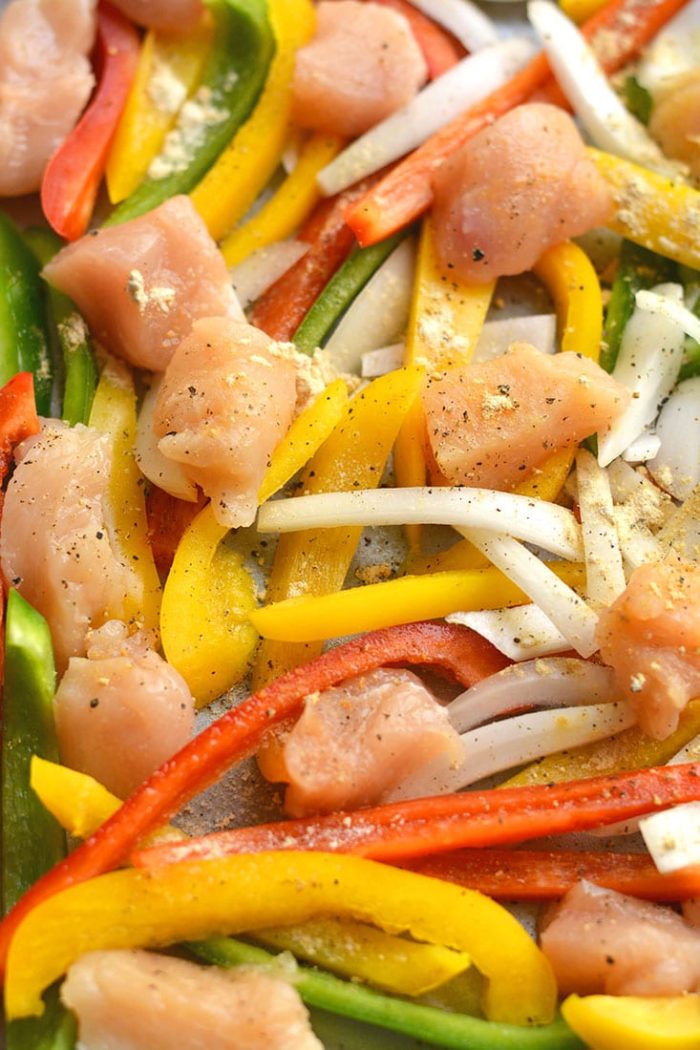
The process begins with the prep. Preheat your oven to 400°F (200°C) and line a large baking sheet with parchment paper. In a large bowl, toss the cubed chicken, bell peppers, red onion, and pineapple chunks with olive oil, salt, and pepper. Spread the mixture in a single layer on the prepared baking sheet.
Next, we prepare the sauce. In a small saucepan, whisk together the pineapple juice, rice vinegar, brown sugar, soy sauce, ketchup, ginger, garlic, and cornstarch. Bring the mixture to a simmer over medium heat, stirring constantly until the sauce thickens slightly. Remove from heat.
Bake the chicken and vegetables for 15 minutes. Remove the pan from the oven and brush half of the sauce evenly over the chicken and vegetables. Return to the oven and bake for an additional 10 minutes, or until the chicken is cooked through and the sauce is bubbly and sticky.
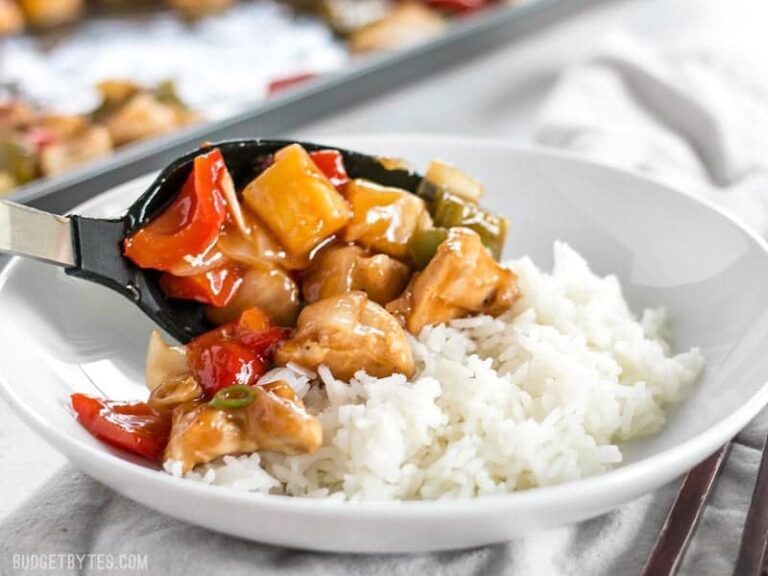
The final step is the finish. Remove the pan from the oven and toss the remaining sauce with the cooked chicken and vegetables. This ensures a fresh, vibrant flavor and a sticky coating. Serve immediately over cooked rice or quinoa, garnished with toasted sesame seeds.
Variations and Creative Twists
This Sheet Pan Sticky Sweet and Sour Chicken is a versatile recipe that can be easily adapted to include other vegetables, proteins, or flavor boosters. Here are a few ways to customize your sheet pan meal:
-
Different Vegetables: Add 1 cup of chopped broccoli florets or snap peas to the pan along with the bell peppers. They cook at a similar rate and add extra fiber and nutrients to the meal.
-
Spicy Kick: Add 1/2 teaspoon of red pepper flakes to the sauce for a subtle, warming heat. You can also garnish the finished dish with thinly sliced jalapeños for a fresh, spicy note.
-
Different Protein: Easily substitute the chicken with 1.5 pounds of large shrimp (add them during the last 10 minutes of roasting) or 1.5 pounds of firm tofu (pressed and cubed) for a vegetarian option.
-
Orange Flavor: Substitute the pineapple juice with orange juice for a classic orange chicken flavor. You can also add the zest of one orange to the sauce for a brighter, more intense flavor.
Frequently Asked Questions
This simple, healthy recipe often leads to a few common questions. Here are the answers to help you achieve a perfect sheet pan meal every time.
Q: Can I use bottled sweet and sour sauce?
A: Yes, you can. Use about 1 cup of your favorite bottled sweet and sour sauce. You may need to add a tablespoon of cornstarch to the sauce to ensure it thickens and becomes sticky in the oven.
Q: How do I prevent the sauce from burning?
A: The key is the two-stage glazing process. Only add the sauce halfway through the cooking process, and ensure the oven temperature is not too high. If the sauce starts to look too dark, you can loosely tent the pan with aluminum foil.
Q: Can I make this ahead of time for meal prep?
A: Absolutely. This recipe is perfect for meal prep. Cook the chicken and vegetables as directed, and store them in separate containers from the rice or quinoa. When ready to eat, simply reheat the chicken and vegetables and assemble the bowl.
Q: Why is my chicken dry?
A: Your chicken is likely dry because it was overcooked. Use a meat thermometer to ensure the internal temperature reaches exactly 165°F (74°C). If the vegetables are not done, remove the chicken and continue roasting the vegetables alone.
Conclusion
Mastering the Sheet Pan Sticky Sweet and Sour Chicken is a simple yet powerful way to bring a healthy, flavorful, and deeply satisfying meal to your table with minimal effort. It’s a recipe that relies on the efficiency of the sheet pan method and the perfect balance of sweet, sour, and savory flavors to deliver a truly memorable dining experience. The tender chicken, the vibrant vegetables, and the sticky glaze create a comforting and exciting meal.
I encourage you to try this recipe for your next busy weeknight. It’s a guaranteed hit that will quickly become a staple. Don’t forget to share your photos and any questions you have in the comments below. I love hearing about your creative twists and how you made this takeout fakeout your own. Happy cooking!
Ingredients
Method
- Preheat your oven to 400°F (200°C). Line a large baking sheet with parchment paper.
- In a large bowl, toss the chicken, bell peppers, red onion, and pineapple chunks with olive oil, salt, and pepper.
- Spread the mixture in a single layer on the prepared baking sheet.
- In a small saucepan, whisk together the pineapple juice, rice vinegar, brown sugar, soy sauce, ketchup, ginger, garlic, and cornstarch.
- Bring the mixture to a simmer over medium heat, stirring constantly until the sauce thickens slightly. Remove from heat.
- Bake the chicken and vegetables for 15 minutes.
- Remove the pan from the oven and brush half of the sauce evenly over the chicken and vegetables.
- Return to the oven and bake for an additional 10 minutes, or until the chicken is cooked through (internal temperature of 165°F/74°C) and the sauce is bubbly and sticky.
- Toss the remaining sauce with the cooked chicken and vegetables before serving over rice or quinoa, garnished with sesame seeds.