Traeger Ironwood 885 Pellet Grill Review: Is It Worth It? is a top-rated appliance for your kitchen.
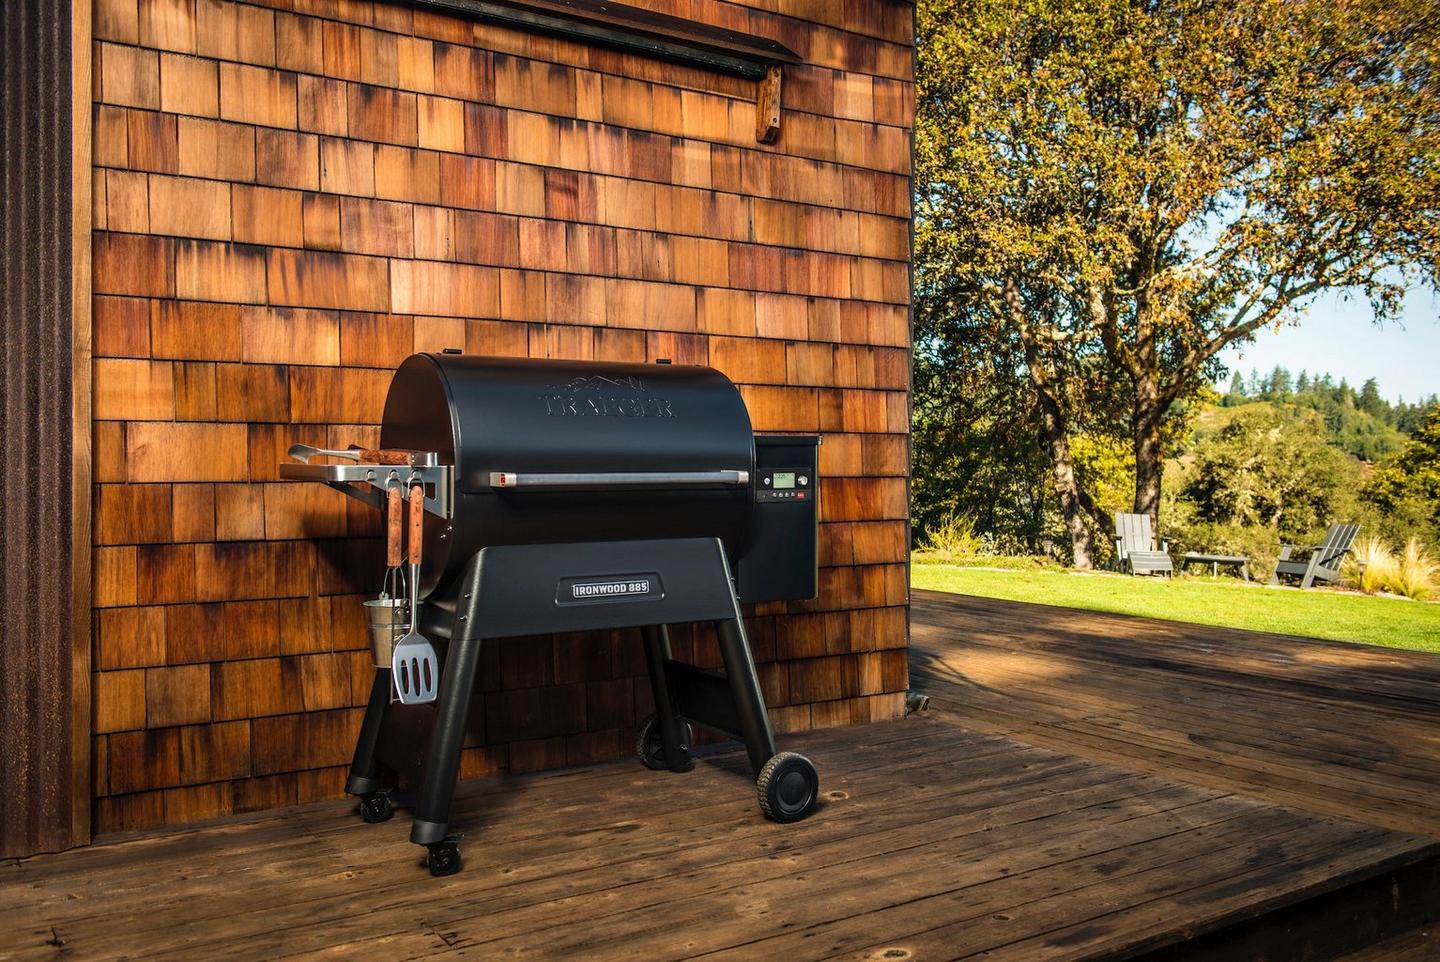
Experience the best performance with its advanced features and elegant design.
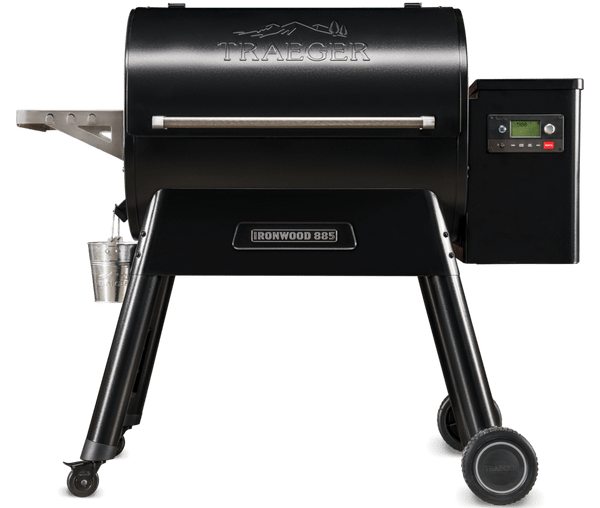
Traeger Ironwood 885 Pellet Grill Review: Is It Worth It? is a top-rated appliance for your kitchen.
Experience the best performance with its advanced features and elegant design.