Introduction
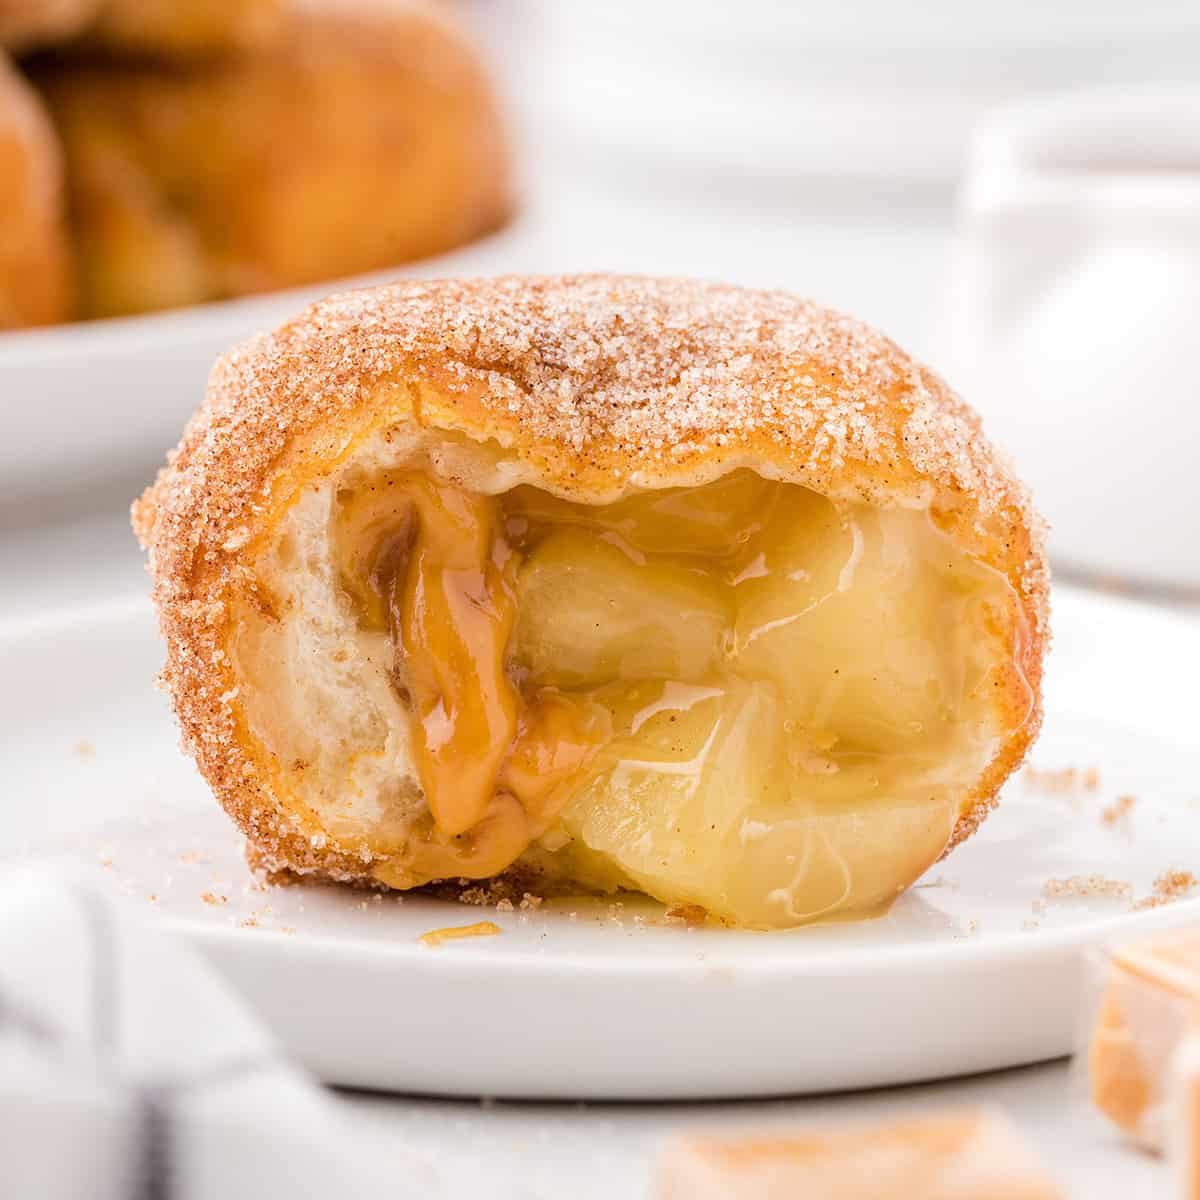
Imagine a dessert that combines the flaky, buttery layers of a fresh-baked biscuit with the warm, spiced sweetness of a classic apple pie, all wrapped up in a bite-sized “bomb” that explodes with flavor. These Apple Pie Bombs are the ultimate shortcut to dessert heaven. I first made these on a whim during a busy Sunday afternoon when the craving for apple pie hit, but the energy for rolling out a traditional crust was nowhere to be found. What I discovered was something even better than the original—a portable, cinnamon-sugar-crusted treat that is as fun to make as it is to eat.
The beauty of this recipe lies in its clever use of refrigerated biscuit dough, which provides a consistent, high-quality base that puffs up beautifully in the oven. Inside, the apple pie filling becomes molten and fragrant, infused with cinnamon and a hint of nutmeg. Whether you’re hosting a fall gathering, looking for a quick after-school snack, or just want to treat yourself to something special, these bombs are a guaranteed crowd-pleaser. They capture the very essence of autumn in every single bite, making your kitchen smell like a professional bakery in less than twenty minutes.

Why This Recipe Works


This recipe works because it leverages the “flaky layers” technology of modern refrigerated biscuits to mimic a labor-intensive puff pastry or pie crust. By flattening the biscuits and sealing the filling inside, we create a pressurized environment where the apples steam and soften further, while the exterior becomes crisp and caramelized thanks to the butter and cinnamon-sugar coating. The technique of dipping the dough in melted butter before rolling it in sugar is a classic “monkey bread” method that ensures a crunchy, sweet crust that perfectly contrasts the soft, gooey interior. It’s a brilliant marriage of convenience and gourmet results that anyone, regardless of baking experience, can master on their first try.
Key Ingredients for Success
Refrigerated Flaky Biscuits: This is the secret weapon. Look for the “Grands” or “Flaky Layers” variety. These biscuits have built-in layers of fat that expand during baking, creating a light and airy texture that perfectly complements the dense apple filling.
Apple Pie Filling: Using a high-quality canned filling saves hours of peeling and simmering. The key pro tip here is to finely chop the apple chunks before filling the dough; this ensures you get a bit of fruit in every bite and makes the bombs much easier to seal.

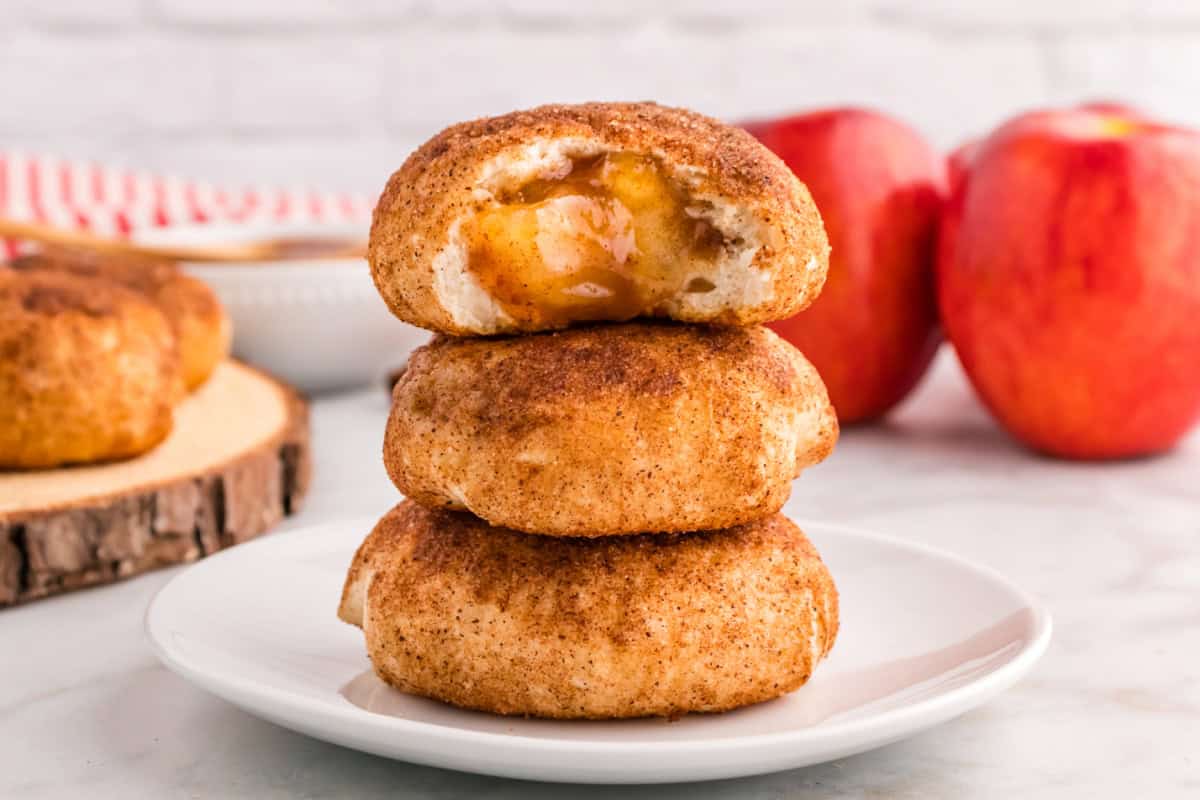
Cinnamon and Sugar: This duo provides the iconic “cider donut” finish. We use a generous amount to ensure the entire exterior is coated, creating a beautiful golden-brown sparkle and a satisfying crunch.
Unsalted Butter: Melting the butter and using it as a “glue” for the sugar not only adds richness but also helps the dough brown evenly. Using unsalted butter allows you to control the saltiness of the dessert.
Caramel Candies (Optional): If you want to take these to the next level, adding a single caramel square inside each bomb transforms them into “Caramel Apple Pie Bombs,” adding a chewy, buttery surprise in the center.

Pro Tips for the Perfect Apple Pie Bombs
First and foremost, do not overfill the dough. It is incredibly tempting to pile on the apple filling, but if the edges of the dough get wet with syrup, they will not seal properly. A leaky bomb is still delicious, but it won’t have that perfect “explosion” effect when you bite into it. Use about one to one-and-a-half tablespoons of filling at most. Another expert tip is to ensure your oven is fully preheated before the bombs go in. The initial blast of high heat is what triggers the “spring” in the biscuit dough, creating those distinct flaky layers.
Lastly, always place the bombs seam-side down on your baking sheet. This uses the weight of the bomb to keep the seal closed during the expansion process. If you find your dough is getting too warm and sticky while you’re working, pop the biscuits back in the fridge for five minutes. Cold dough is much easier to handle and seal than room-temperature dough.
Step-By-Step: Bringing It To Life
The process begins with a bit of prep work that sets the stage for success. Start by chopping your apple pie filling into smaller, more manageable pieces—this is a small step that makes a huge difference in the final texture. Next, set up your “coating station” with one bowl of melted butter and another bowl filled with your fragrant cinnamon-sugar mixture. The aroma of the cinnamon alone is enough to get your mouth watering! Now, take your biscuits and gently flatten them out. You want them thin enough to wrap around the filling but thick enough to hold their shape.
Now comes the fun part: the assembly. Place a spoonful of the spiced apples in the center of each dough circle. Carefully gather the edges, pinching them together with your fingertips like you’re making a little dumpling. Once sealed, give the ball a gentle roll in your palms to smooth it out. Dip the entire ball into the melted butter—don’t be shy!—and then roll it through the cinnamon sugar until it’s completely encrusted. As they bake, you’ll see them puff up and the sugar will begin to bubble and caramelize, creating a scent that will bring everyone in the house running to the kitchen.
Variations and Creative Twists
For a “Peach Cobbler Bomb,” simply swap the apple filling for peach pie filling and add a pinch of ground ginger to your sugar mixture. If you’re a fan of berries, a “Mixed Berry Bomb” using blackberry or raspberry filling is equally divine. For a more “grown-up” version, you can add a half-teaspoon of bourbon to the apple filling before stuffing the dough for a subtle, smoky depth of flavor.
If you want to add some texture, try mixing finely chopped pecans or walnuts into the cinnamon-sugar coating. This adds a wonderful nutty crunch that mimics the topping of a traditional apple crisp. For those who love a bit of contrast, serving these warm with a scoop of cold vanilla bean ice cream creates a “pie a la mode” experience that is truly hard to beat.
Frequently Asked Questions
Q: Can I make these in an air fryer? A: Absolutely! Air fry them at 350°F (175°C) for about 8-10 minutes. Just be sure to line the basket with parchment paper so the sugar doesn’t stick to the grates.
Q: How do I store leftovers? A: These are best eaten fresh, but you can store them in an airtight container at room temperature for up to two days. To regain that “fresh-baked” texture, pop them in the microwave for 10-15 seconds or back in a warm oven for a few minutes.
Q: Can I use homemade pie crust instead of biscuits? A: You can, but the texture will be very different. Pie crust will be much denser and more “crackly,” whereas the biscuits provide a soft, bread-like interior that many people prefer for this specific treat.
Q: My bombs leaked in the oven, what did I do wrong? A: This usually happens if the dough wasn’t pinched tightly enough or if the filling touched the edges of the dough before sealing. Make sure your hands are dry when pinching the seams!

Conclusion
Mastering these Apple Pie Bombs is a rewarding experience that proves you don’t need hours in the kitchen to create a dessert that looks and tastes professional. They are a celebration of simple joys—the crunch of sugar, the warmth of cinnamon, and the timeless appeal of a sweet apple center. I hope this recipe becomes a new favorite in your household, bringing a little bit of “bomb” flavor to your next dessert table. Don’t forget to share your results and let me know if you tried the caramel version! Happy baking!

Ingredients
Method
- Preheat your oven to 375°F (190°C) and line a baking sheet with parchment paper or lightly grease a muffin tin.
- In a small bowl, combine the granulated sugar and cinnamon. Set aside.
- Melt the butter in another small bowl.
- Open the can of biscuits and separate them. Flatten each biscuit into a 4-inch circle using your fingers or a rolling pin.
- Place about 1-2 tablespoons of the chopped apple pie filling in the center of each flattened biscuit.
- If using, place one caramel candy on top of the apple filling.
- Gather the edges of the dough and pinch them tightly together to seal, forming a ball. Ensure there are no gaps for the filling to leak out.
- Dip each dough ball into the melted butter, then roll it in the cinnamon-sugar mixture until evenly coated.
- Place the bombs on the prepared baking sheet or in the muffin tin, seam-side down.
- Bake for 12-15 minutes, or until the bombs are golden brown and puffed.
- Allow the bombs to cool for 5 minutes before serving. The filling will be very hot!
- If desired, whisk together the powdered sugar, milk, and vanilla to create a glaze and drizzle over the warm bombs.
- Serve warm for the best experience.